Sunday, January 22, 2012

About to Start Weather


In a week, my class will be moving on from the scientific method to weather. In order to activate prior knowledge (and also to ensure all my students have this background understanding), we will start by discussing the water cycle. They'll work together to create this foldable that labels, explains, and shows the water cycle.

It is just a regular sheet of cardstock or copy paper folded at 2 3/4" from both ends. This brings the flaps together at the center of the page. The flaps are cut at 4 1/4" or right in the middle, all the way to the fold line. Each step of the water cycle gets a flap of its own, and the image drawn inside, along with the description, go with that particular step.

It is a quick, easy way to ensure all my kiddos have the same background for discussing the importance of weather.

Monday, January 16, 2012

Spanish Explorers in NM Foldable


I love foldables. They mean less copying for me (which also saves the school $), and the kids do ALL the work. There are no fill-in-the-blanks or multiple choice guessing. Here, then, is the foldable my class will be working on in social studies this coming week. We have read about the Spanish exploration of NM and discussed our thoughts as a class. Now, the students will create a timeline to help solidify the learning and to give it a time context. I’ll give them time, once the foldables are made, to quiz each other and use them as a study tool.

The base is just a regular sheet of colored, copy paper divided in half length-wise. The “booklets” are 2” x 5” strips that are folded in half. The cool part about creating stand alone timelines like this is that as we make others for later explorers to NM, they can be attached to create a ‘big picture’ of history and exploration in our state!

Sunday, January 1, 2012

Scientific Method Foldable


January is when my grade level focuses on the scientific method. My class will do several class experiments together, practicing, but in just a couple of weeks, my students will be partnered into groups of 3 to do a science fair experiment for our school science fair. Not all of the 4 grades at my school will do this. Some will just create a class experiment and display board. I just find that letting the students do more on their own really makes for deeper learning and connection/commitment to the procedure and results.

Anyhow, I start by making sure all my students have a background in the scientific method. These foldables are one way I do this. The main foldable is a layered minibook. It has the steps of the scientific method. Above the step name, but under the previous flap, is information that helps students understand the step. I found the info and simplified its vocabulary to make it appropriate for the abilities of fourth graders. You can use this foldable for older or younger students by doing the same. The matchbook foldable is also a flap book. In the main book, the term “variables” is often used. Some of my students will know the basics of a variable; some won’t. However, I’ve never had a 4th grader that really understood that there are different kinds of variables, each with a name. So, we make this foldable to ensure all the students have the knowledge and vocab to use the scientific method.


Hope this helps or inspires your scientific method unit.

Tuesday, December 20, 2011

Polar Express Ticket Share


My class is book buddies with a kinder class. The kinder class enjoys a whole unit with The Polar Express, and since it happens to be one of my favorite picture books too, I've figured out ways to make it work for my 4th graders. Although it changes every year (often based on how long it took us to finish The Best Christmas Pageant Ever), I love using The Polar Express as a prompt for working with figurative language, persuasive letter writing, and sequencing. I also adore bringing the story to life and working it into other subjects, such as math.

The ticket you see in the photo is given to my students at the beginning of our fun. I print them on gold vellum paper (from Hobby Lobby or Michael’s). After cutting them apart, I use a circle punch to notch the ends so it will look like a ticket. Because vellum doesn’t absorb the ink, unless you are using a laser printer, I suggest having the tickets laminated. Otherwise, the students’ fingers will smudge the printing. I feel it is worth the effort, as the gold vellum has a sheen and translucence that the kids see as special—far more so than regular paper printed with a golden yellow ink. I’ve shared the link for my tickets below. The ticket number is actually the date on which the ticket was given, helping to make it a keepsake.

http://www.4shared.com/file/_dAA2ZFU/polar_express_ticket.html

The link below is a division worksheet I created to try and bring a bit of fun into our math.

http://www.4shared.com/office/7LfKMlsQ/polar_express_division.html

I sure hope those links work. This is my first time trying to share files! Please let me know if they don’t work. :)

Student Gifts Wrapped Pinterest Style


I love pinterest! http://pinterest.com/celestenm/school/ is my school board, which I may soon need to split into subjects!

This wrapping, however, was pinned on my Christmas board. I loved the simplicity of using an edge punch on a paper lunch bag. I tested a snowflake punch first, but I found it was too fussy for the look I wanted. So, I went with Stampin Up's scallop edge punch instead, and I adore the result. I actually like the tartan ribbon the best, but I ran out, and because I am like instant gratification, I just used another ribbon I had at school. Next time, I would wait and bring more of the tartan instead. Still, I like how both ribbons turned out. Inside, is a book, which the students are supposed to read over the break, as our first assignment upon returning requires it. (I know; it was sneaky slipping learning in with a gift!)

Wednesday, November 2, 2011

Dead Words


This is one of my favorite lessons for October! To practice using a thesaurus and improving word choice in our writings, my class chooses words to bury. These ‘dead words’ are either over used words or weak words. First, my class brainstorms words that we use too often or that aren’t very strong at getting our thoughts across to the reader. I have a container that holds dead words written on slips of paper. The students reach in and pick a word. They have to think of how they use this word: is it a verb, an adjective, or an adverb. Then, they use the classroom thesauruses to look it up. I require 12 alternatives, and this makes the task more challenging, as most of the words do not have that many substitutions in our thesauruses. Thus, the students often get on the classroom computers to look up other synonyms, or they brainstorm with other students. Once they have their list, they create gravestones. Once the gravestones are ready, we hold a ceremony to say goodbye to the dead words and bury them. The posters, then, hang where everyone can read them (and help create a bit of a Halloween mood too, I might add), but most importantly, when we write the students will point out to each other (and me) when a dead word is used, even after the gravestones are removed.

Tuesday, November 1, 2011

Skeletal System


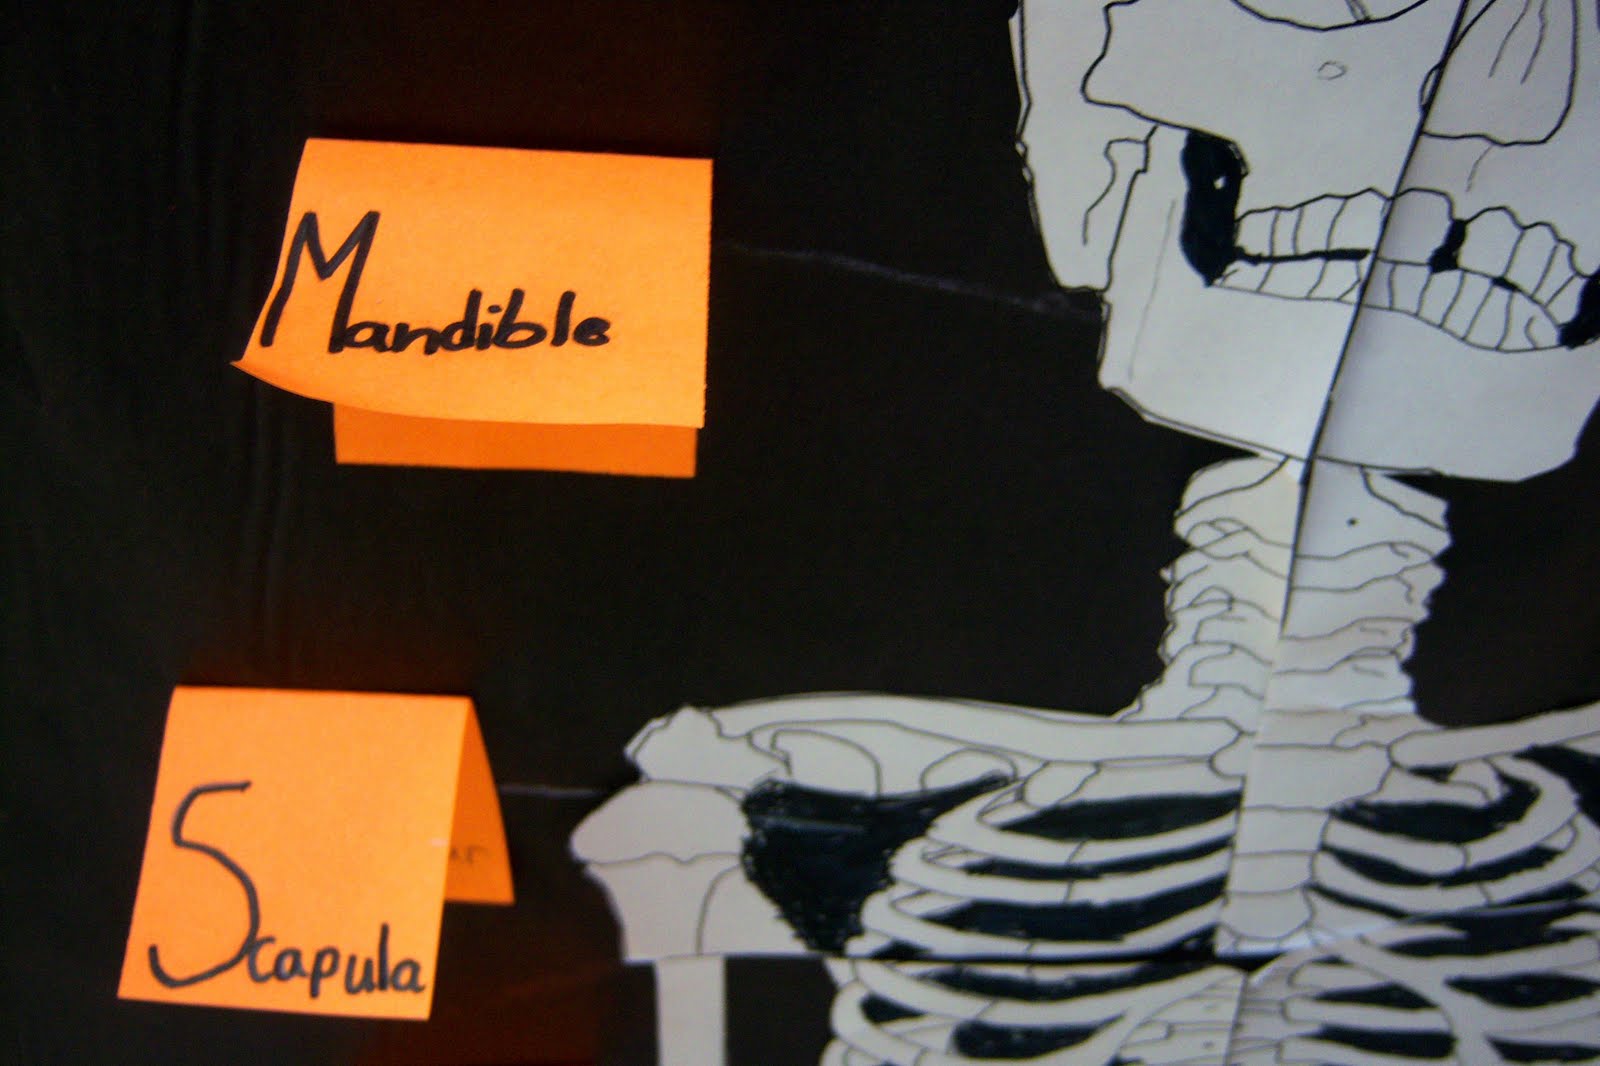
My class just finished learning about the skeletal system. We used http://www.eskeletons.org/pdf/000646791.pdf for the printable skeletons. I put the students in small groups and explained that bones have 3 possible jobs: provide structure, allow movement, or protect organs. In their groups, the students had to decide the job/s of the major bones. They then cut the skeletons out, assembled them on black butcher paper, labeled bones, and told the job/s they thought the bone did.